

10 Easy steps we go throw in
- Create a Firebase account.
- Create a new project in Firebase.
- Add Firebase to your web application.
- Install the Firebase CLI tools.
- Login to your firebase account.
- Initialize the project.
- Select the firebase hosting you created.
- Select out as a build folder.
- Update your build script and run the build command.
- Finally, deploy the project on Firebase.
If you don't know what is Firebase?
Firebase is a Backend Service platform developed by Google. It offers developers a complete set of development tools and provides the backend for building highly-scalable web and mobile applications.
In this Blog, I’m using the VS-Code terminal.
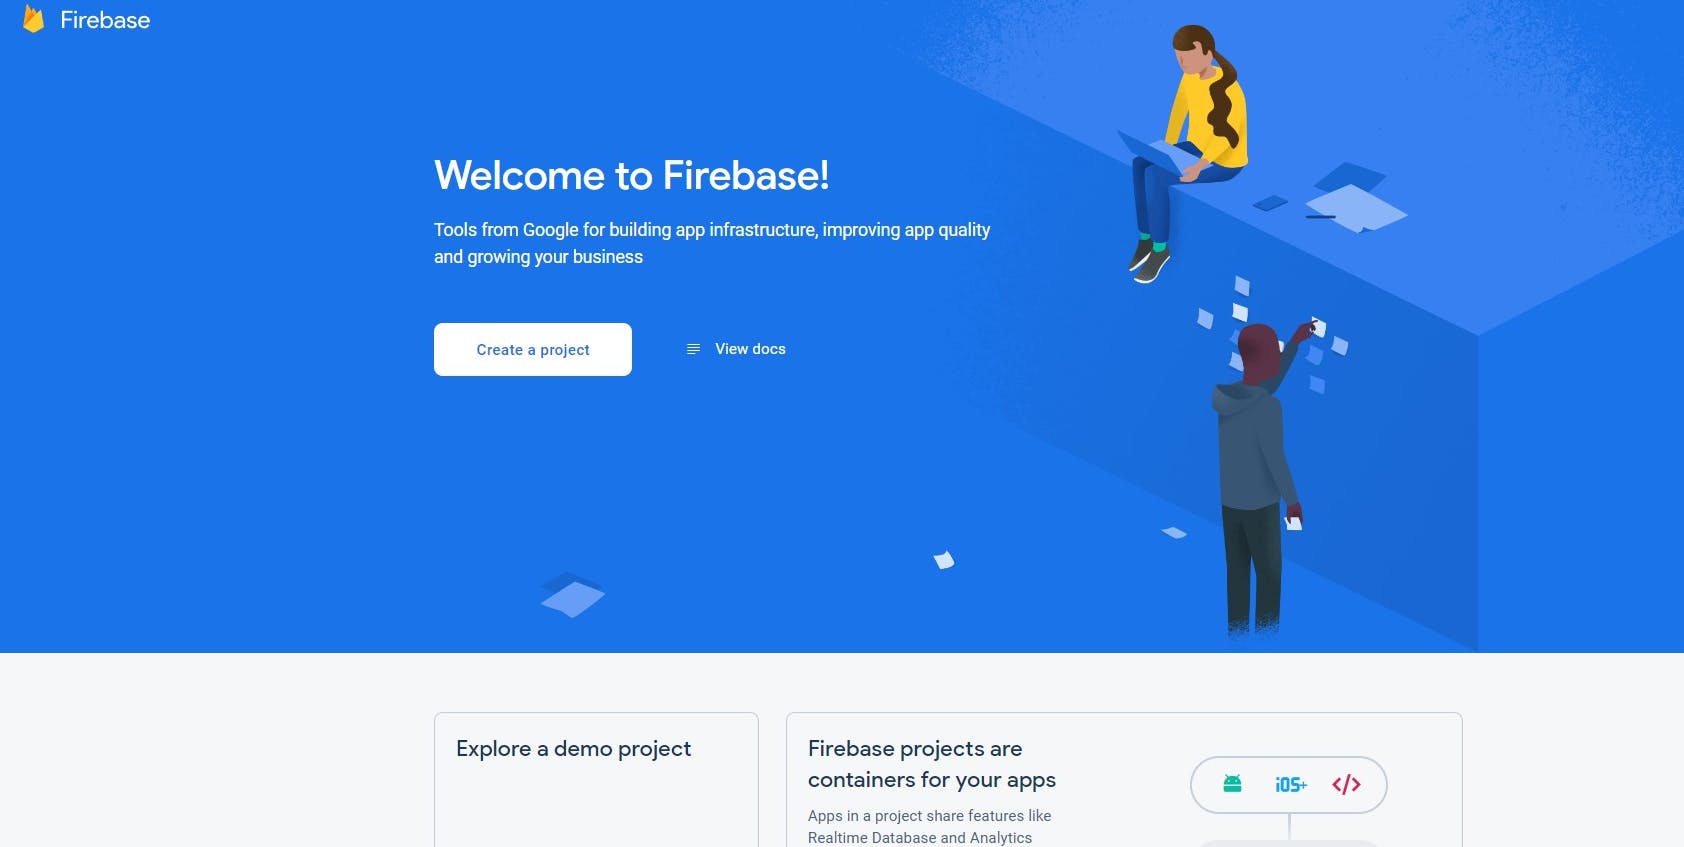
Step 1: Create a Firebase account.
Go to firebase.com and create an account.
Step 2: Create a new project in Firebase.
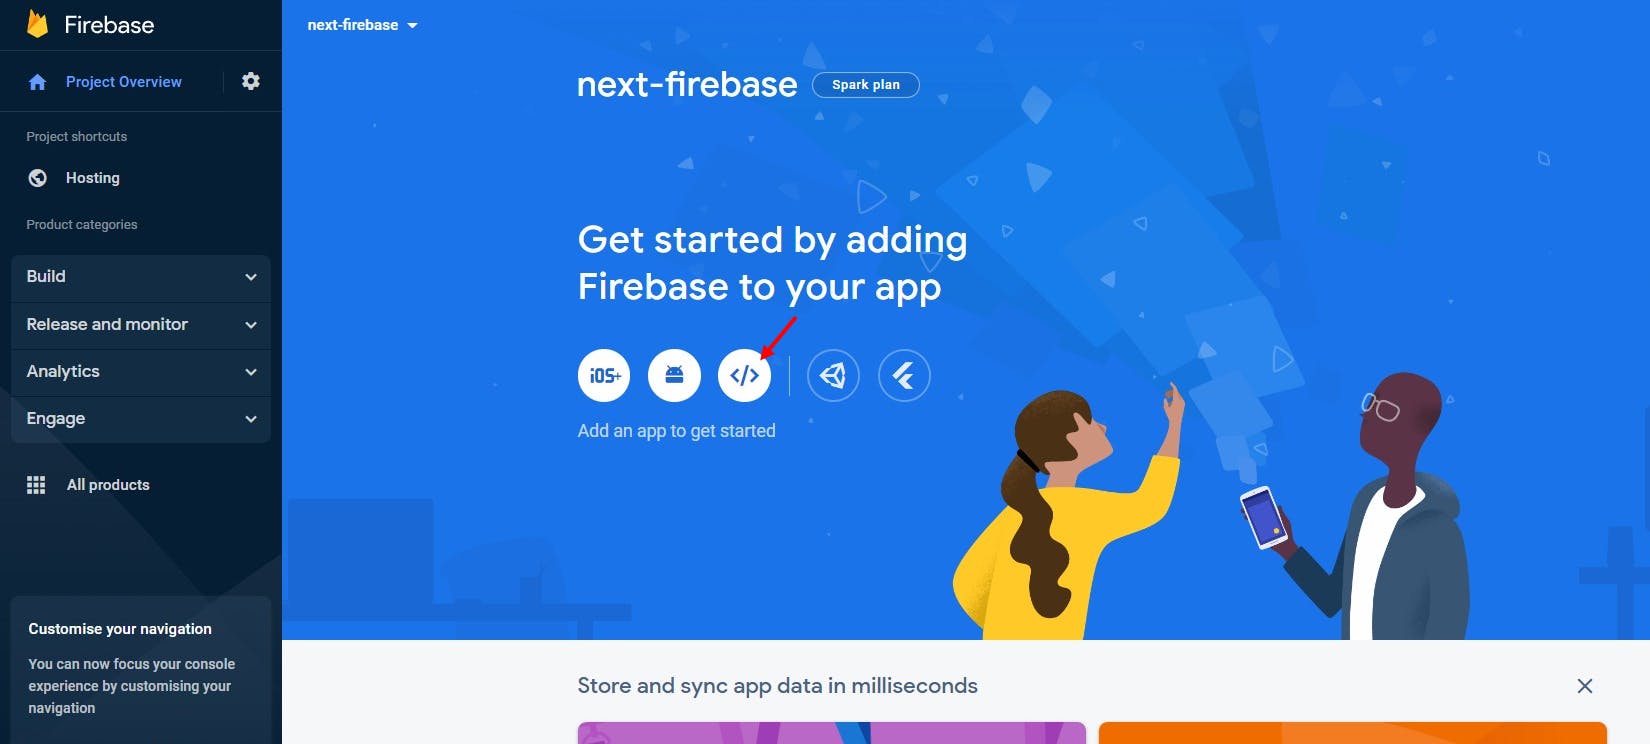
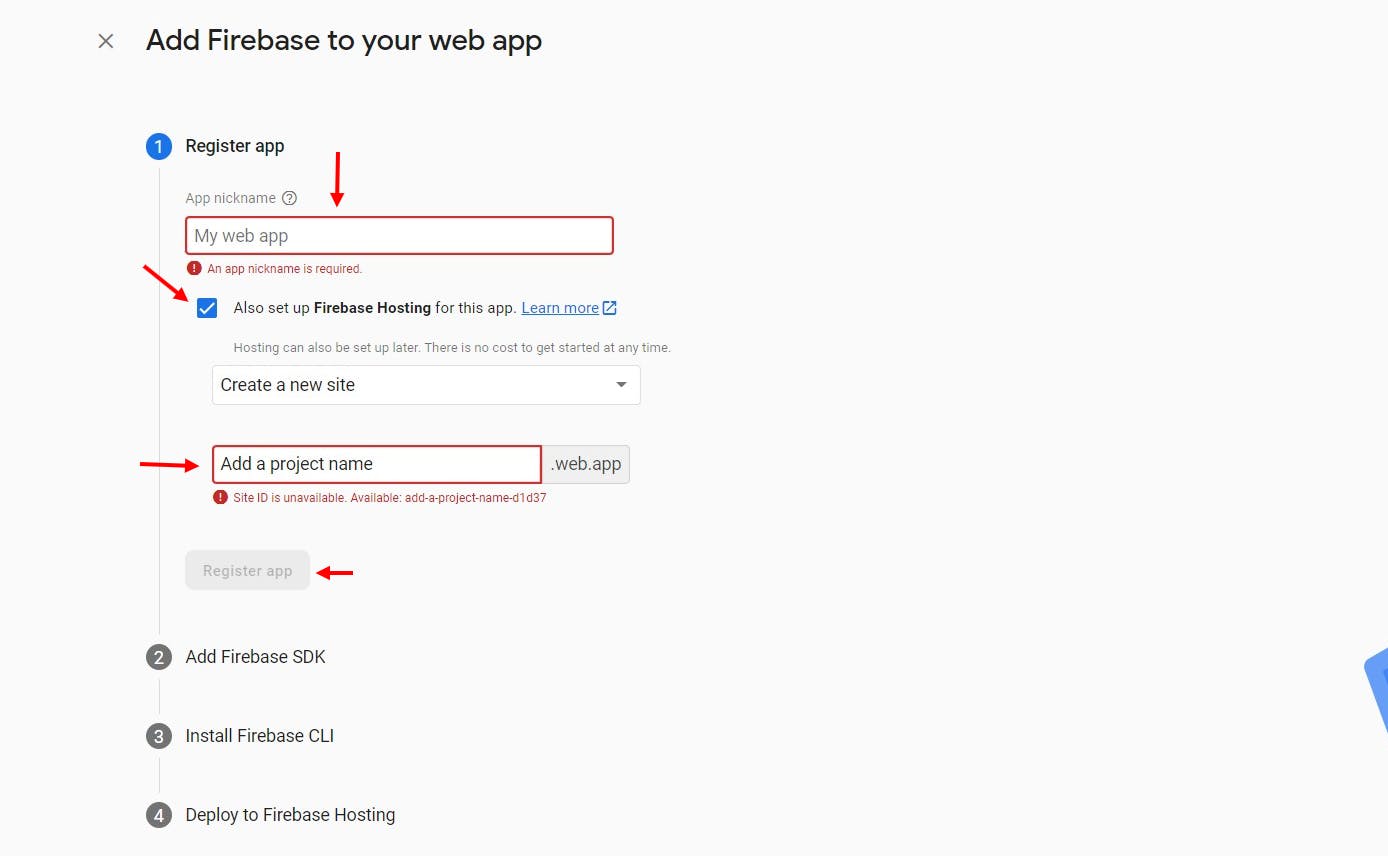
Step 3: Add Firebase to your web app.
Click the button to add your Domain name.
 Then 1. give a nickname, 2. select the button to add a custom domain, 3. add your Domain name, 4. Click the Register button.
You don’t need to add Firebase SDK for using Firebase Hosting.
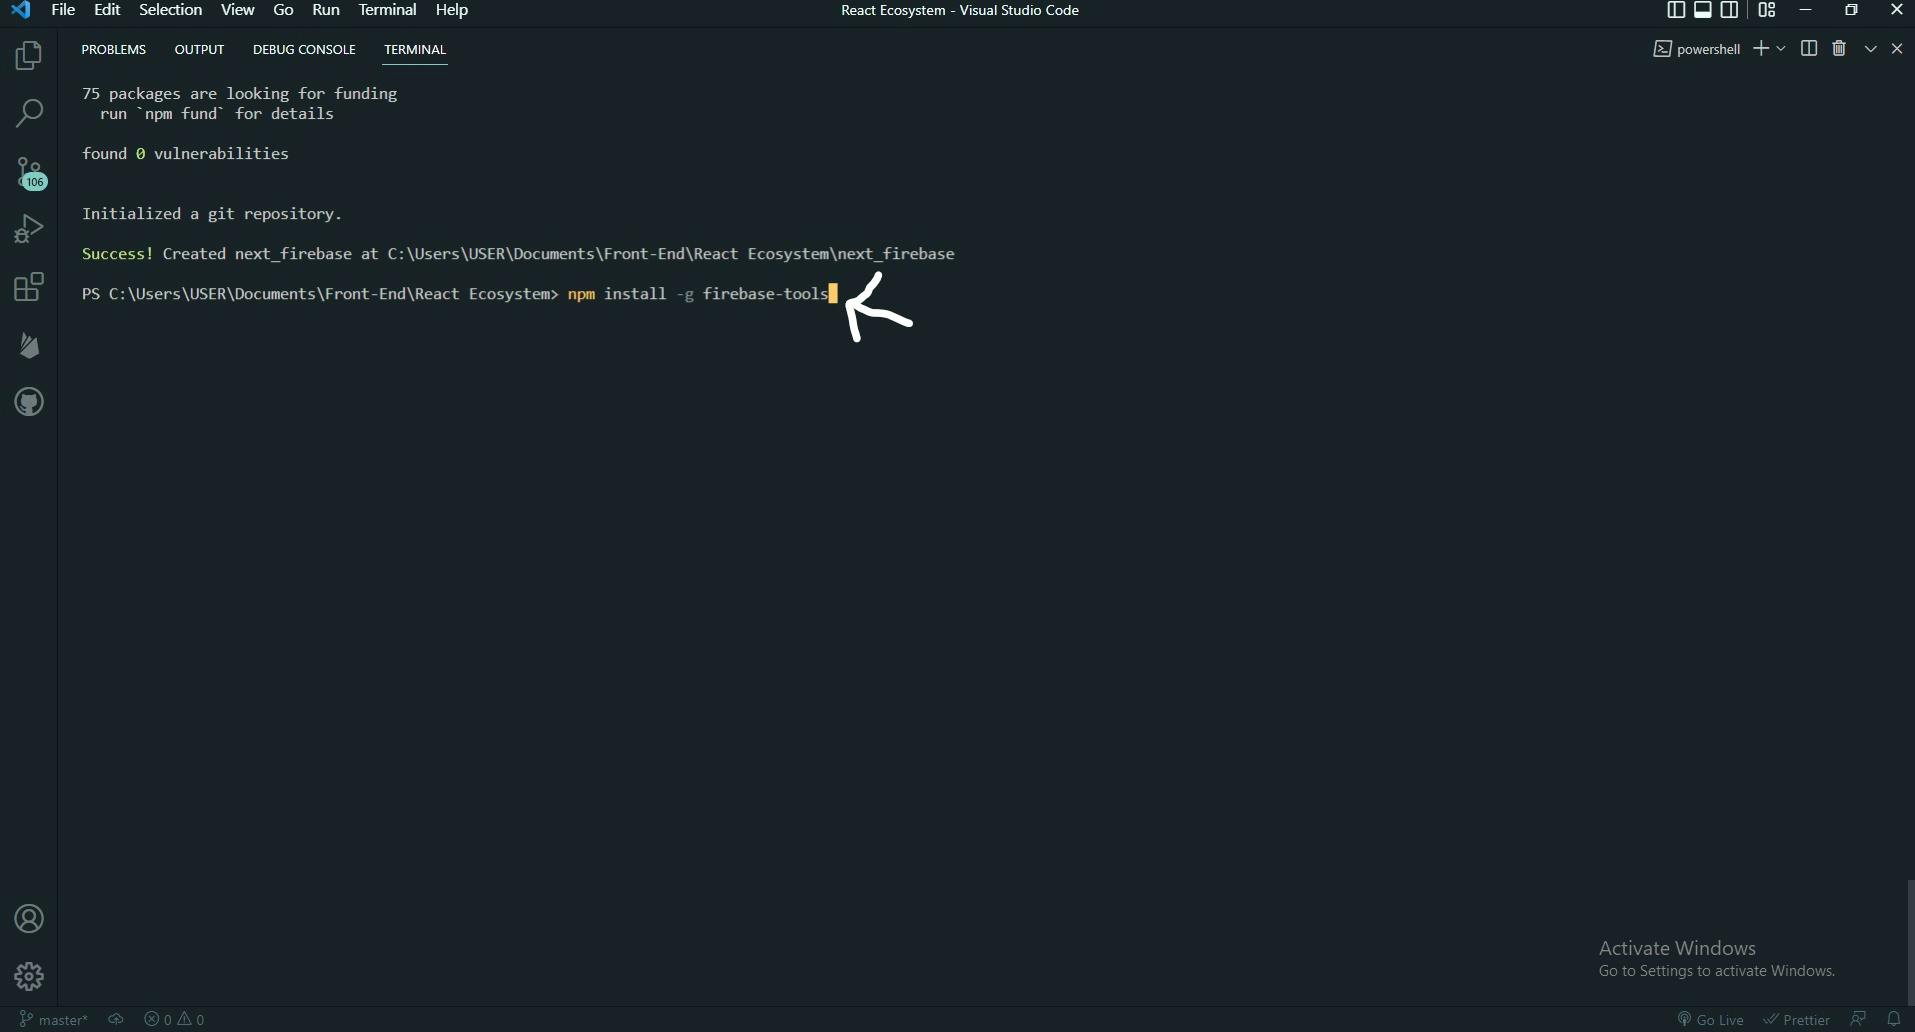
Step 4: Install the Firebase CLI tools in your project.
npm install -g firebase-tools
Step 5: Login your firebase account in the terminal
Run this firebase login command to login your firebase account in the terminal.
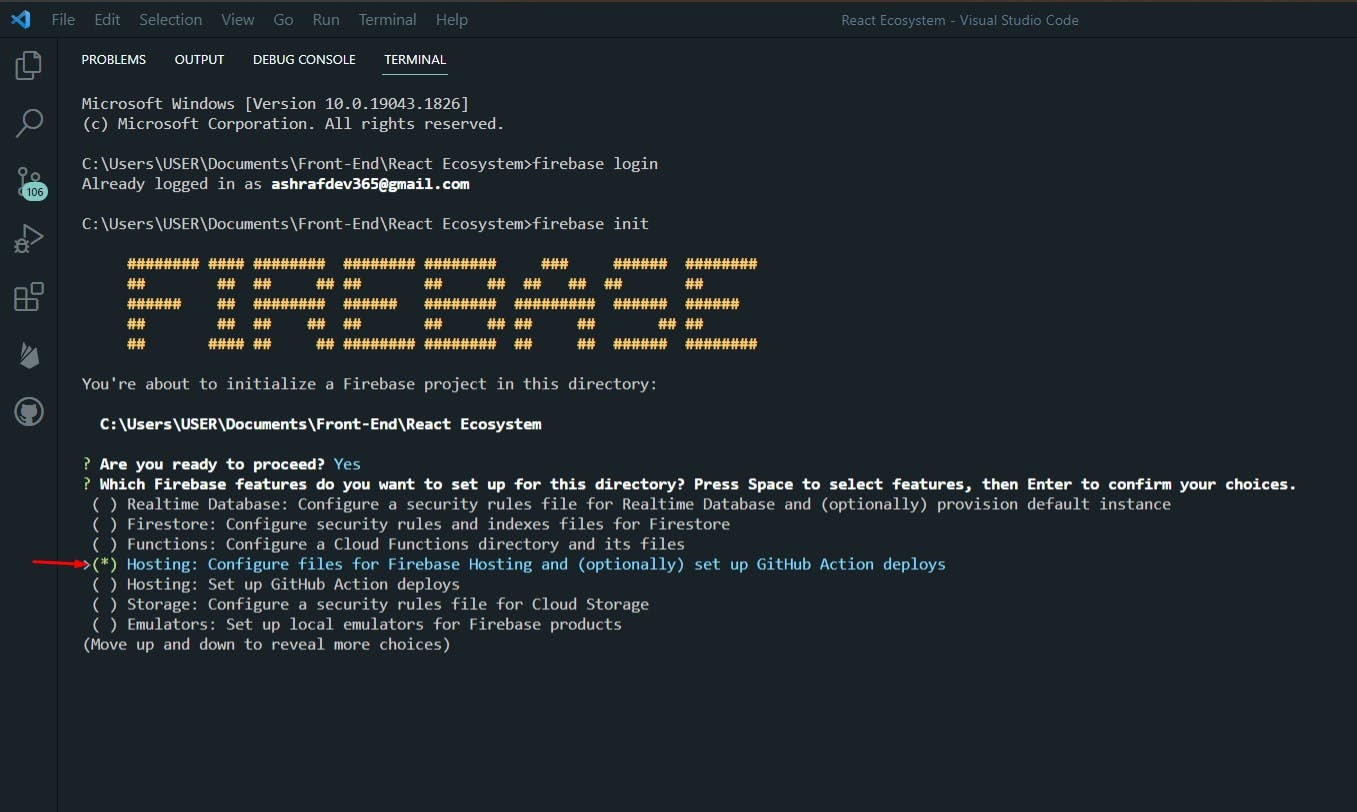
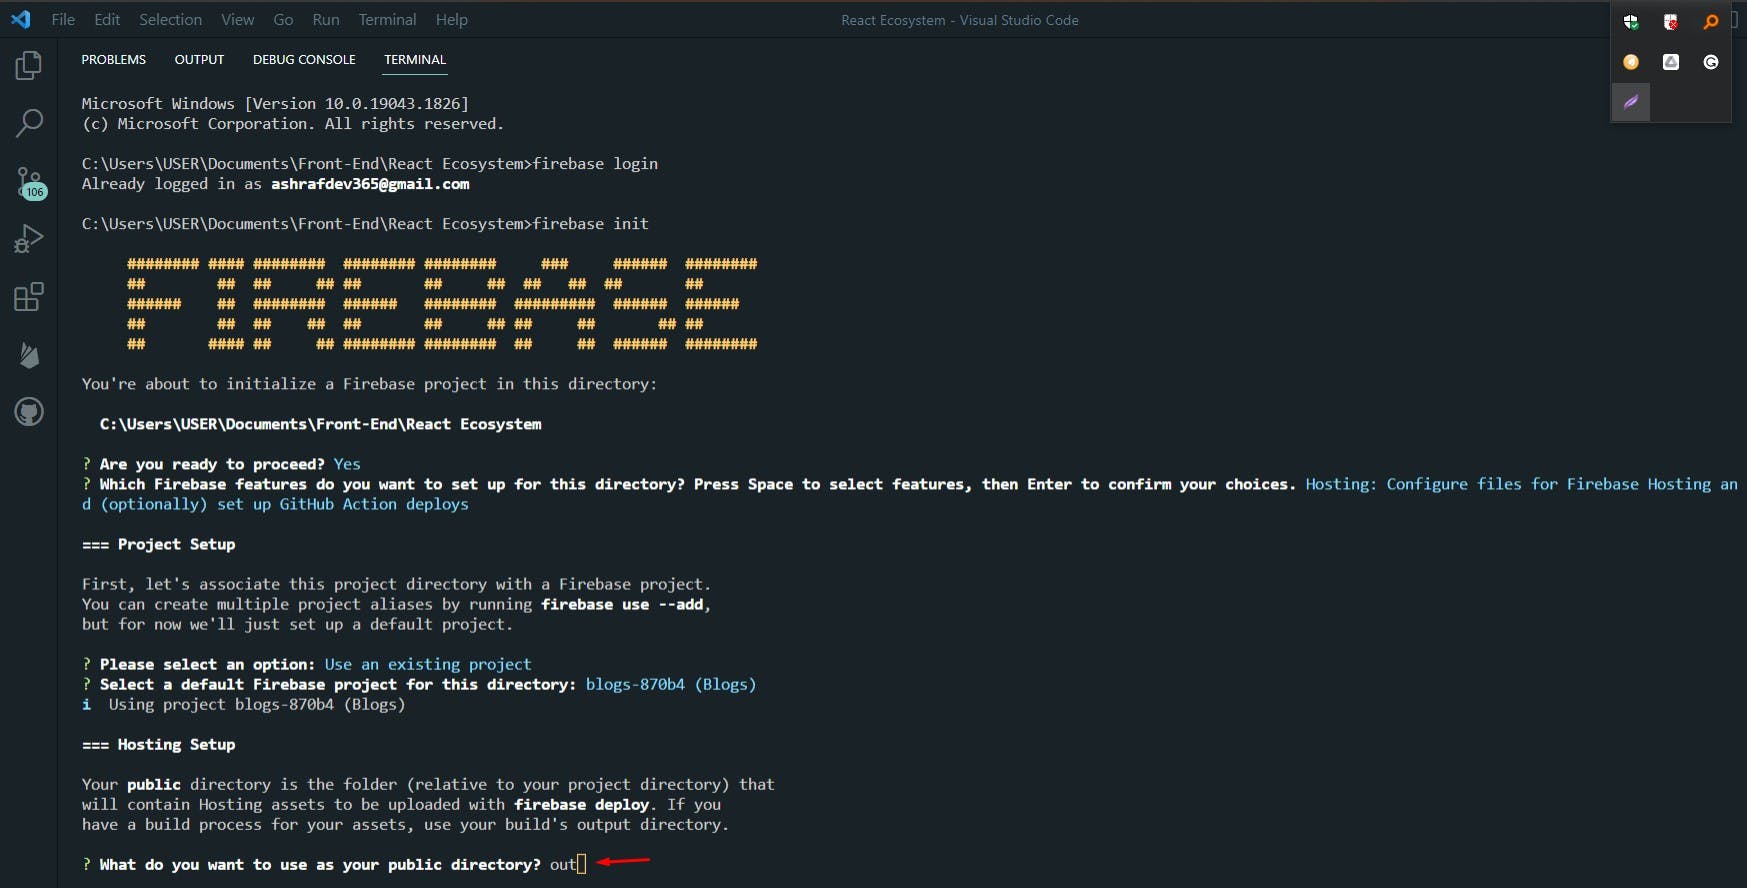
Step 6: Initialize the project in the terminal.
Run the firebase init command to Initialize the project.
And then, select the Hoisting Option with the space bar, then click the enter button on your keyboard.
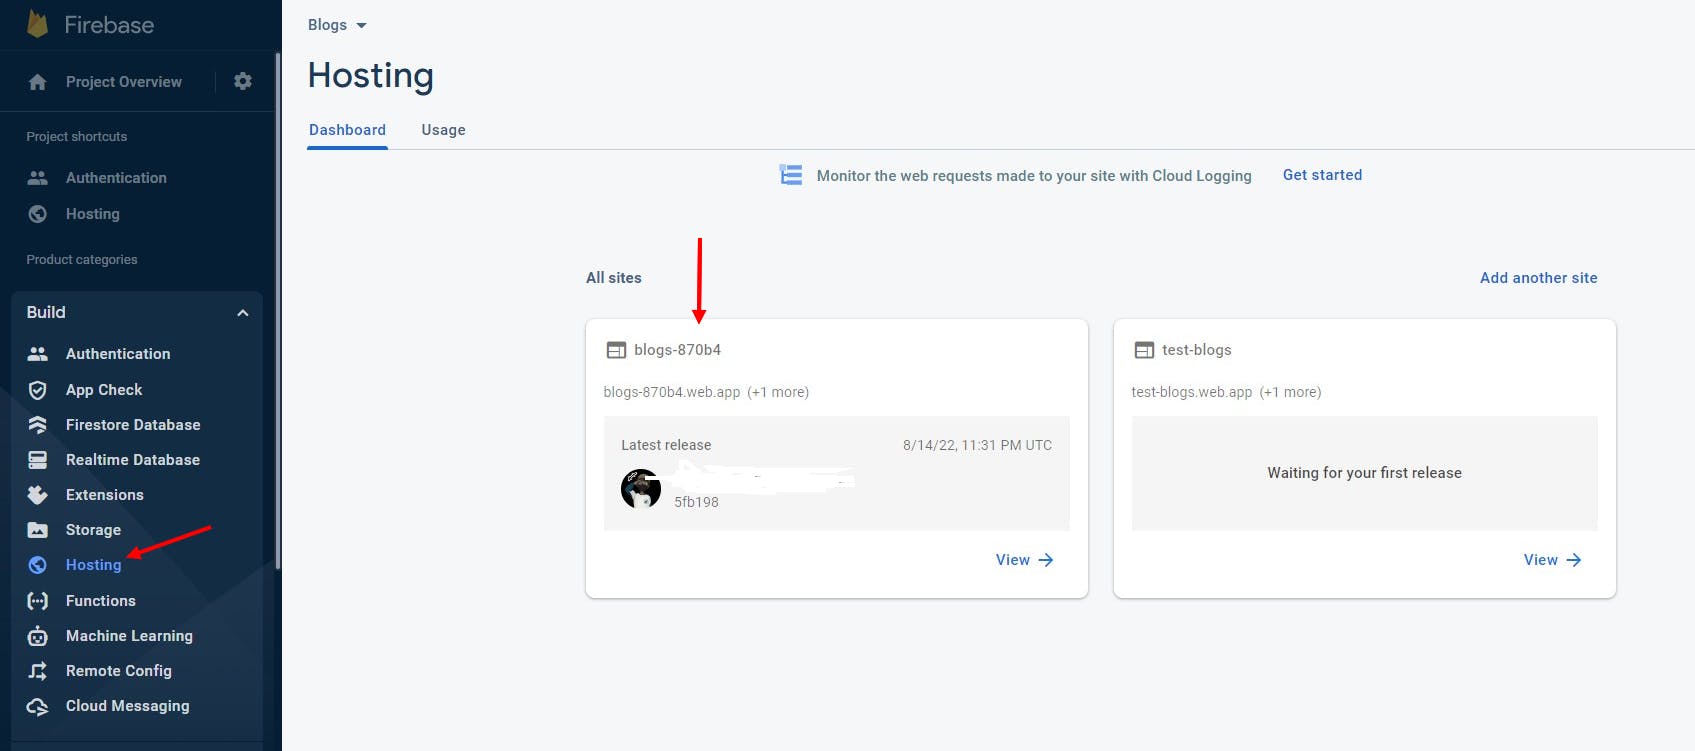
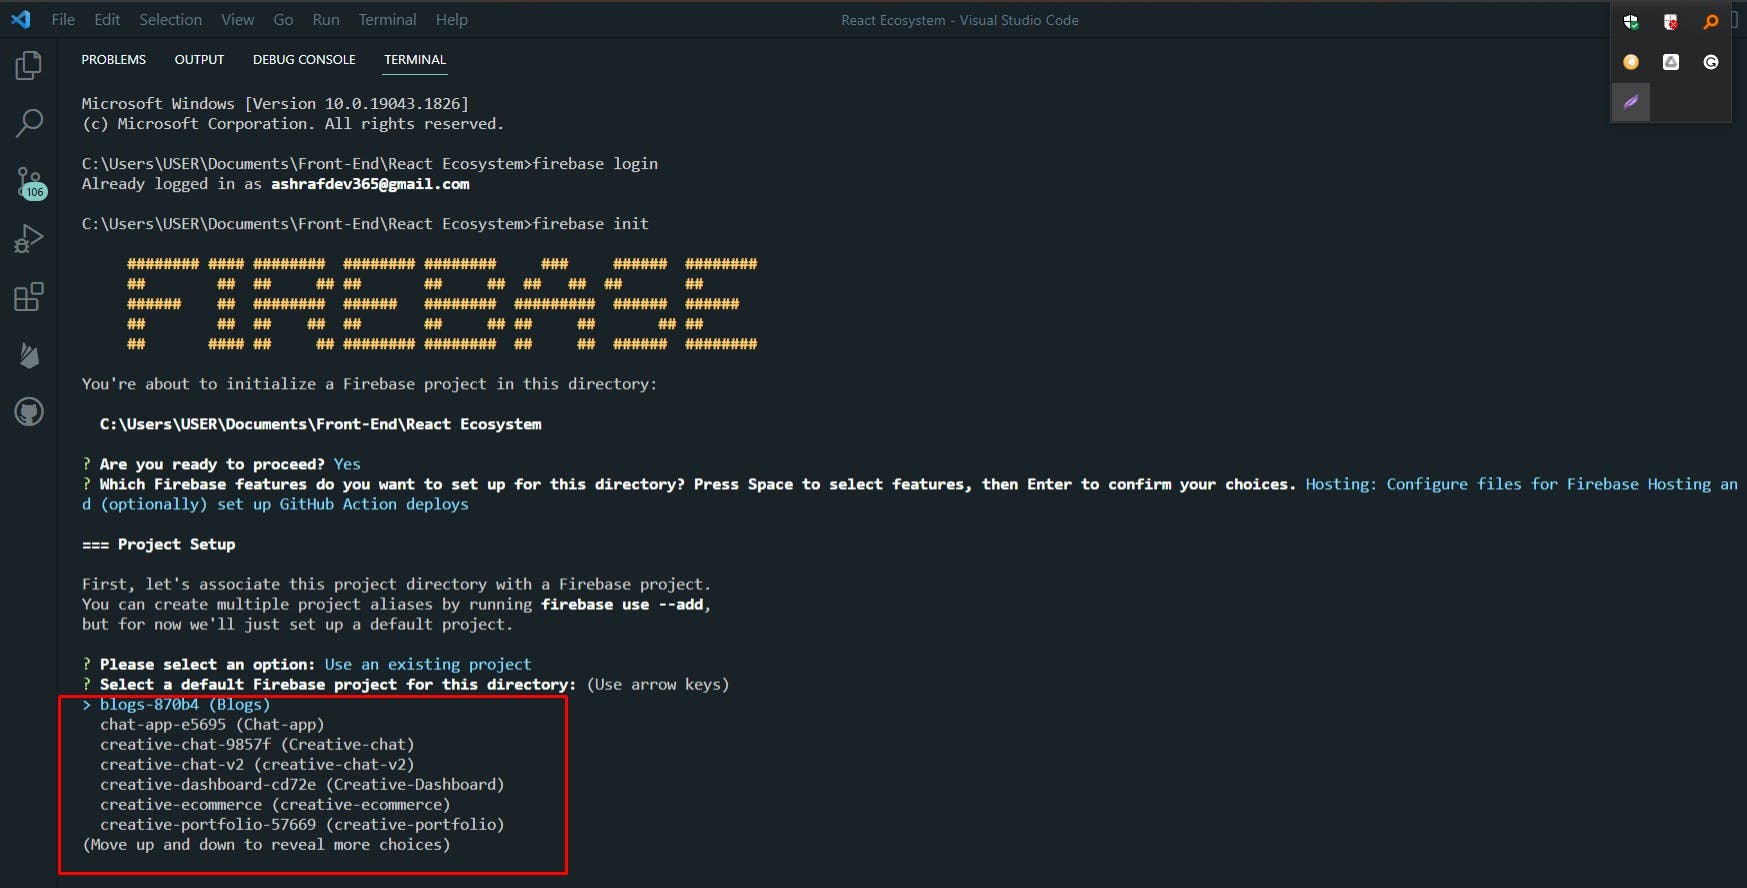
Step 7: Select the Firebase hosting that you created
Select the hosting for which you want your upload your project.
Step 8: Select out as a build folder.
When they ask: What do you want to use as your public directory? out
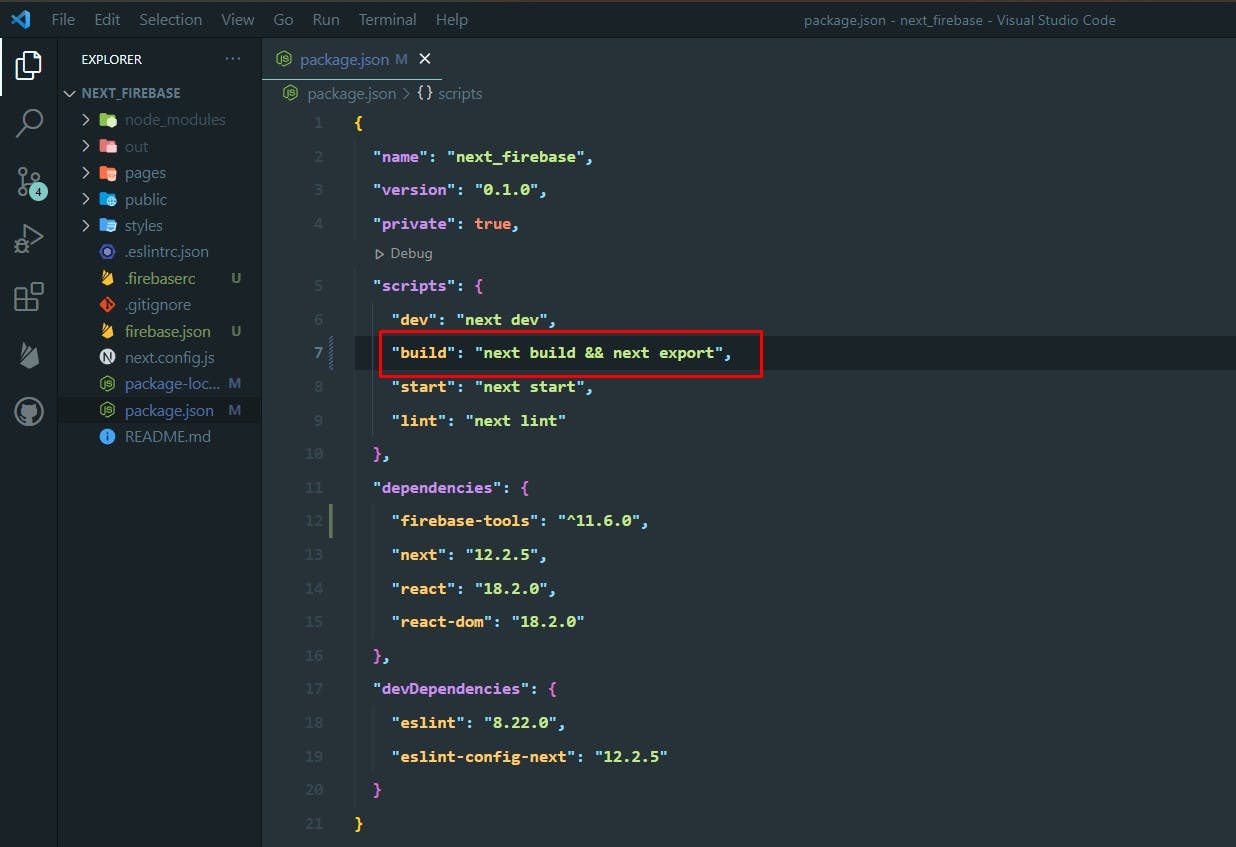
Step 9: Update your build script and run the build command.
Go to the package.json folder 📂 and add this build command.
“build”: “next build && next export”,
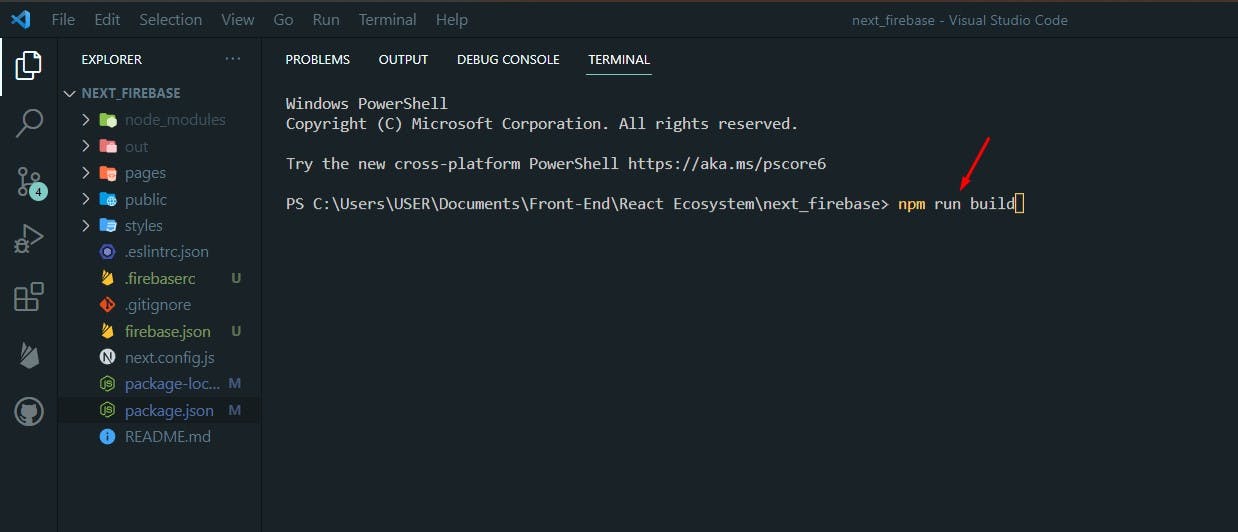
 And then run this build command in your terminal.
npm run build
Step 10: Finally, deploy the project on Firebase.
Finally, run the deploy command in the terminal.
firebase deploy
Now you can see your project in the Firebase Hosting section: